Interested to learn the power of WordPress for free? XAMPP Localhost provides a way to install WordPress and other CMS to the Windows PC and open the possibilities to learn the in and out of WordPress, try out new themes and plugins, Customize the themes and test new features and functionalities before rolling it out in the live version.
Table of Contents
Why and What is XAMPP?
To run a WordPress application, we need a web server to process the user request on the website, Database to store all the website data, a programming language to interact with the database and the webserver is required.
It is difficult for beginners to install each component separately. This is where XAMPP comes into the picture. It is a one-stop solution for all the above local hosting needs. The components are,
Apache – Web Server Software
MySQL – Database
PHP – Programming Language
XAMPP is available for Windows, macOS, and Linux operating systems and can be downloaded at free of cost. Thanks to the community behind it.
How to Install WordPress
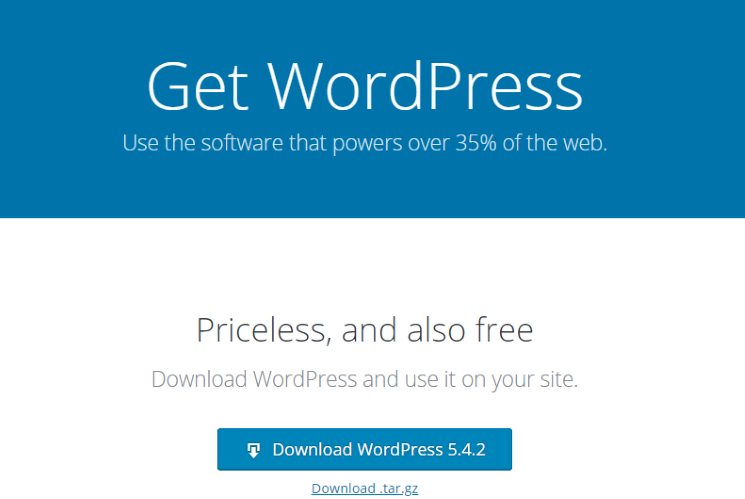
Go to the website “https://wordpress.org/” you will find the big Download button for WordPress. Click on the download button. WordPress will be downloaded within minutes.
Extract the downloaded WordPress Zip file into any desired place in your local computer. You can also download WordPress in tar.gz format if you want.
How to Install XAMPP in Windows
Go to the website “www.apachefriends.org”. There you can find XAMPP for multiple OS versions. Click on XAMPP for Windows option and the file will be downloaded on your local PC.

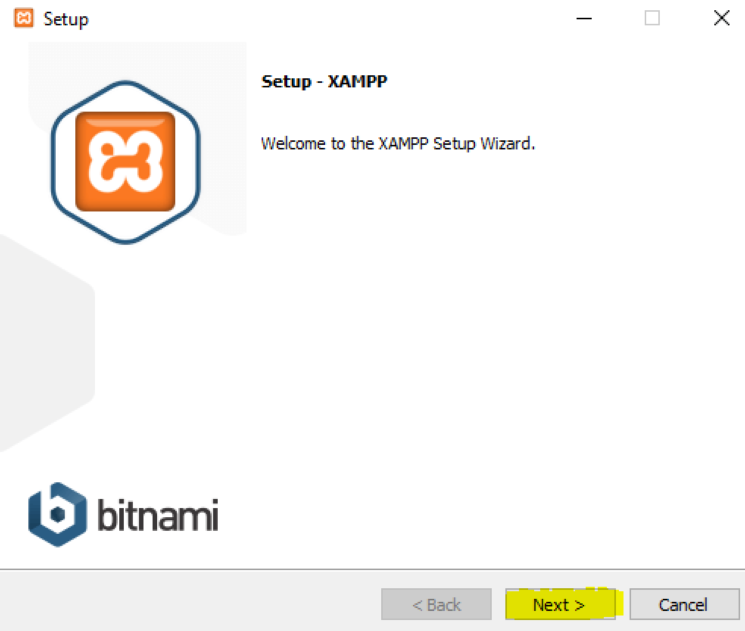
Click on the downloaded installer application and a new window named XAMPP Setup will open. Select the NEXT option to proceed with the installation process.
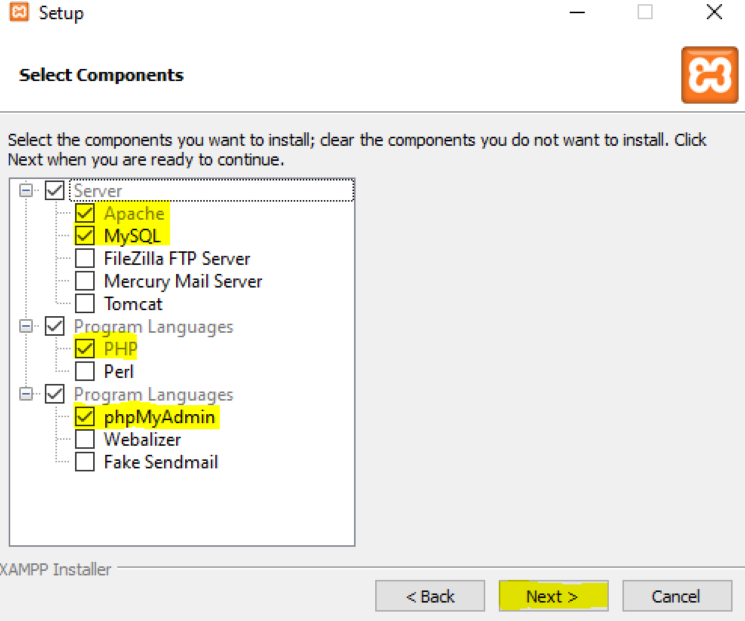
The next window shows a list of components that can be installed inside the XAMPP software. You can select the components that we have highlighted to run WordPress.
After selecting the components successfully, select the NEXT option to proceed further.
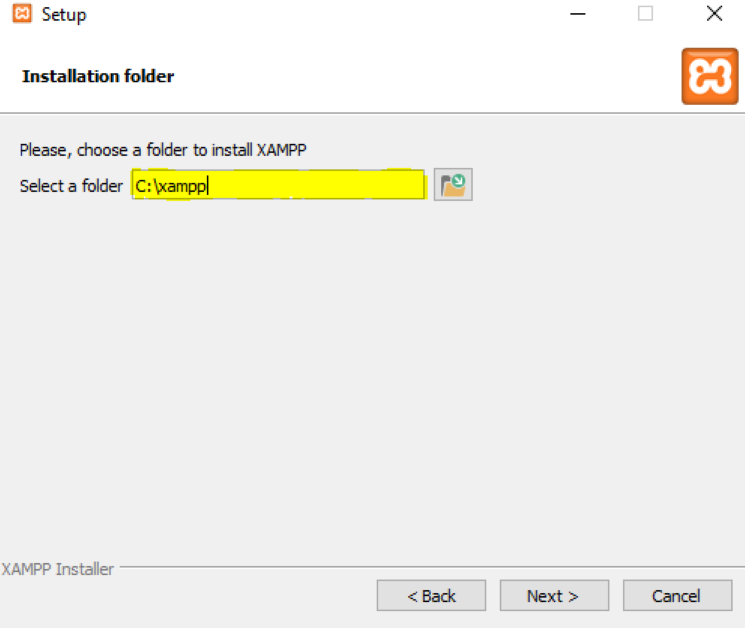
In the next window, The installer asks for the desired location on the local computer. For Windows users, it is advised to install XAMPP in the C drive.
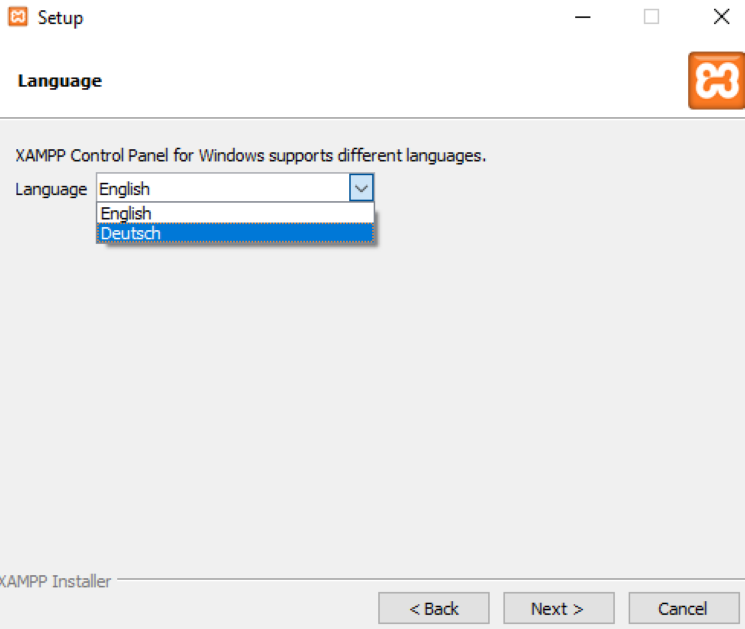
Select your comfortable language on the next page as XAMPP for Windows supports two languages English and Deutsch. In this tutorial, we are going to select English as the operating language.
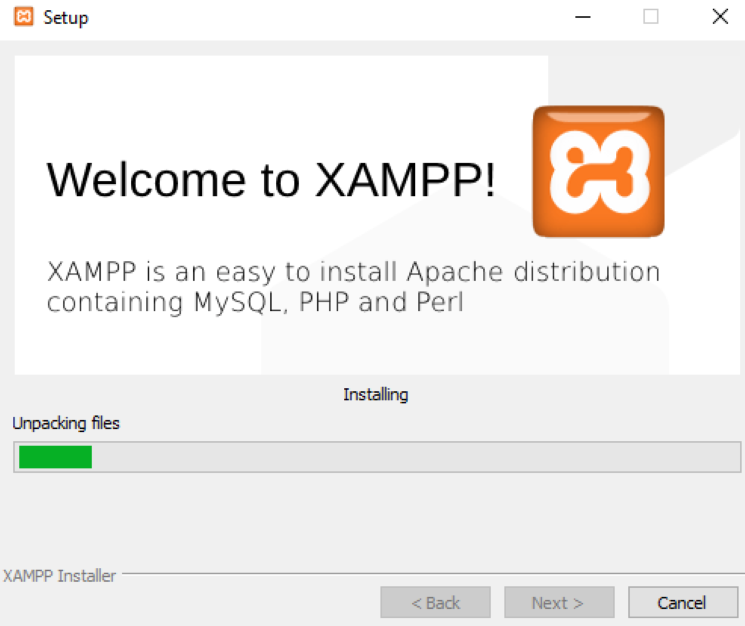
After selecting the language successfully, select next and you will find the XAMPP file start installing into your local computer. Wait for some time until this page arrives.
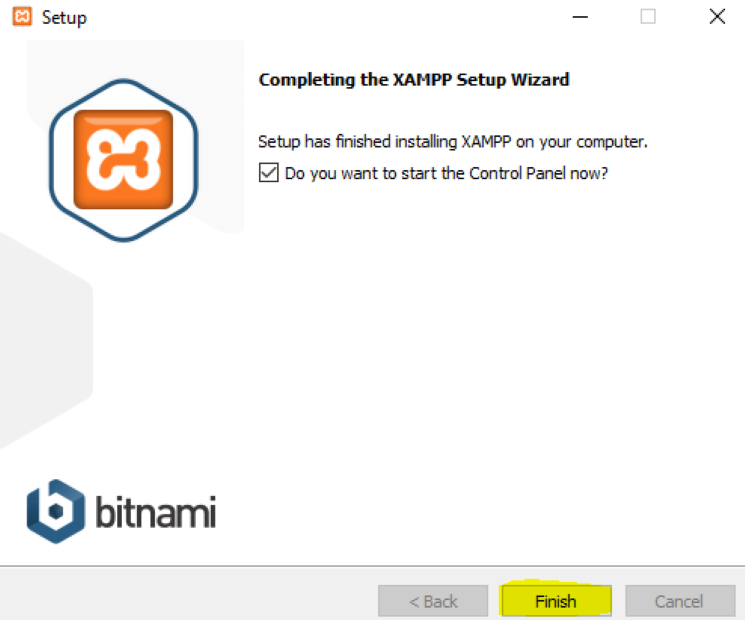
Select the Finish button to complete the installation. Once the installation is completed successfully, the XAMPP control panel will pop up. Also, you can access the XAMPP control panel anytime using the system search option, or through the system tray.
In the XAMPP control panel, you can find the Start button to run the applications, Config button to modify the configuration of each application and this control panel also provides a shell scripting option in it.
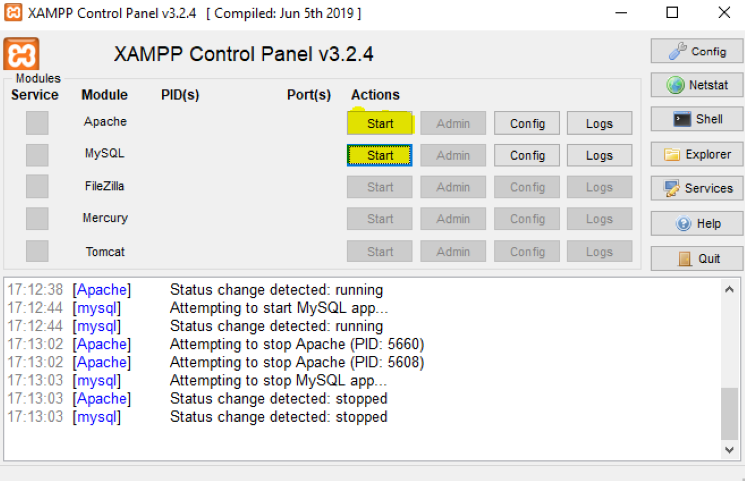
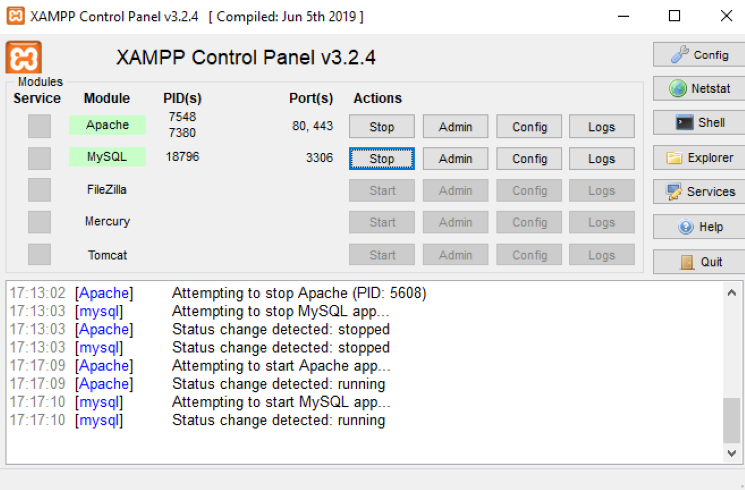
Start the Apache and MySQL application in the Control panel and once the application starts running, you can track the green running status near to it.
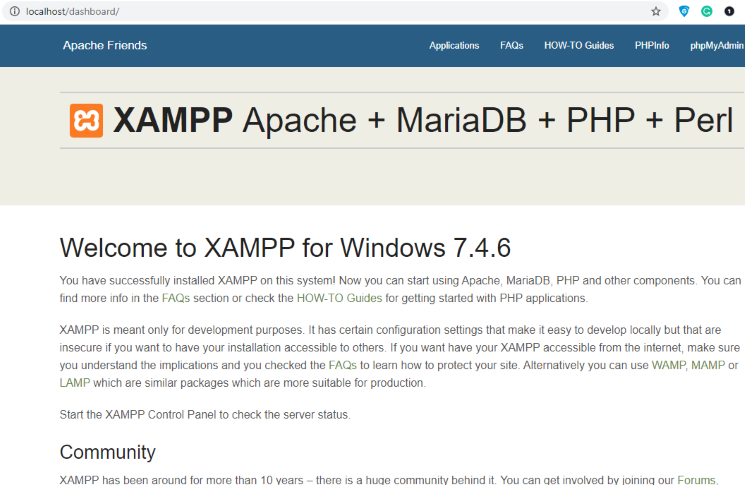
You can now access the admin panel in your browser. Open a new browser session and Type “http://localhost/dashboard/” in a new tab. If the XAMPP installation is successful, you will find the following admin page visible in the browser.
Install WordPress in the XAMPP Localhost
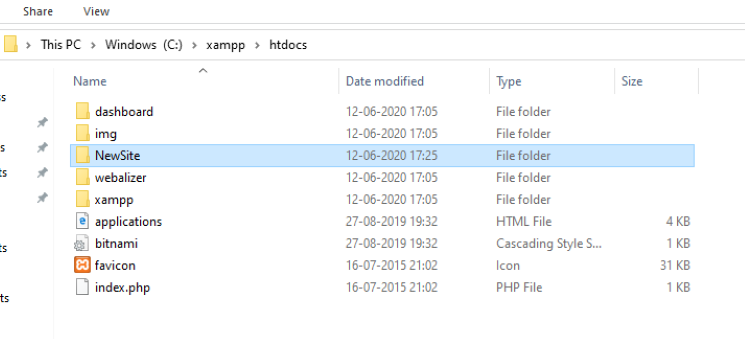
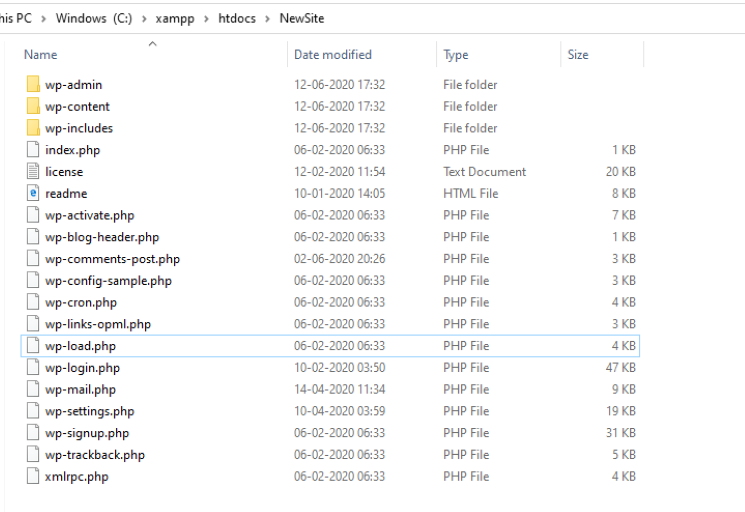
After Installing XAMPP, you will find a file called “htdocs” in the following mentioned path. Go to C:\xampp\htdocs and create a new folder and name it related to the purpose of this download for convenience. We are naming the folder as NewSite and we copied all the extracted files of WordPress zip into this folder.
Creating a Database for WordPress
Open the XAMPP control panel, In the MySQL application action row, you can find the Admin button.
The phpMyAdmin control system will open in a new page or browser. You will find an option named Database on the top left page. Click on the Database menu.
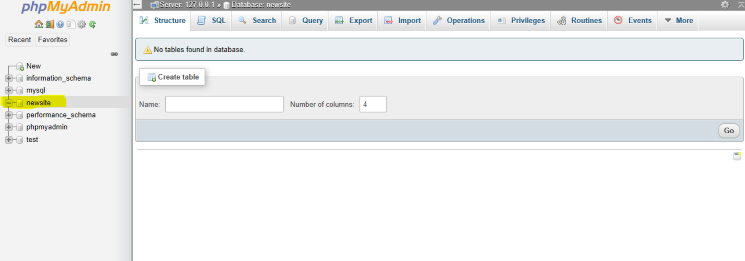
Create a new database by entering the name of the database in the create database tab. Select the desired type of Database in the next tab. After selecting the database type, click on the create button. Here we are creating a database named “newsite”

Now we can find our database is created successfully.
How to Access WordPress through localhost
Go to “http://localhost/newsite/” in your browser and you will find the following installation page in your browser. The syntax to access the WordPress installation page in the browser is “http://localhost/FOLDERNAME/” and you will be redirected automatically to the WordPress installation page if it is not already installed.
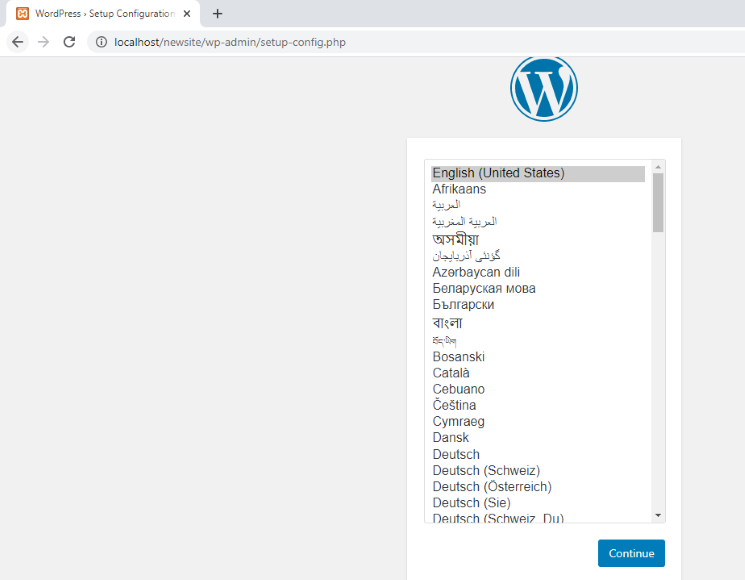
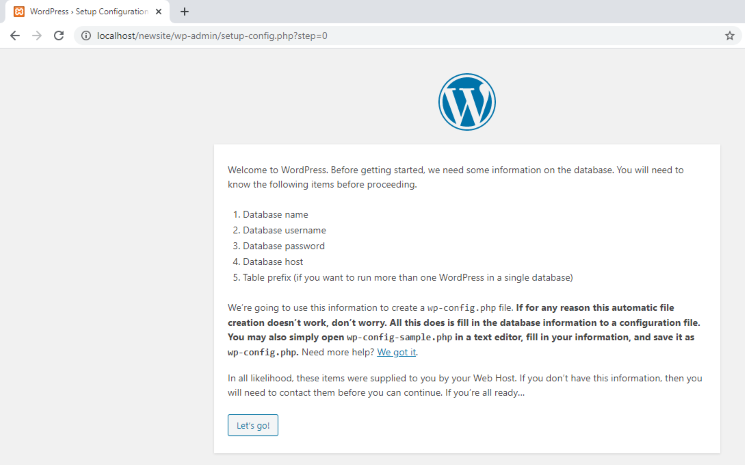
In the Multiple Language options provided by WordPress, we are selecting English as the primary language. WordPress now displays a page where it asks the users to have the complete detail about 5 basic setups that are necessary for the proper functioning of WordPress in the Local Host.
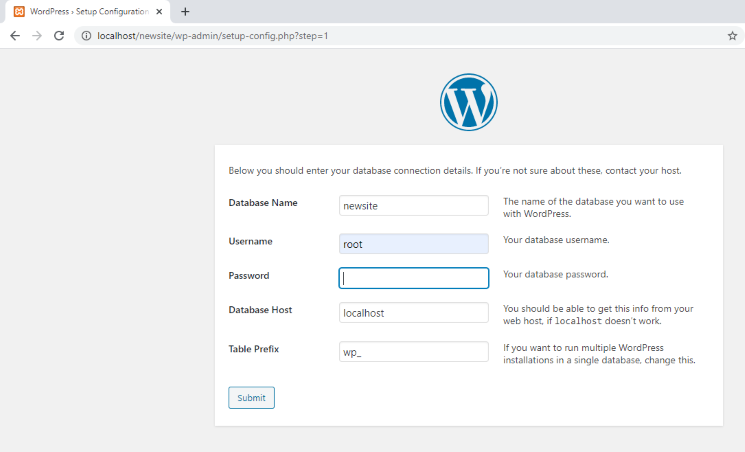
Enter the name of the database created in the phpMyAdmin in the Database tab. Here we have given our database name as newsite. It is advised to provide the username as root as the root user has the administrator functionalities in the WordPress program level. Blank is allowed in the password tab, and we don’t set any password for our new site. The Database host for local hosts is localhost itself and there will be a default table prefix as WP_ and we don’t want to change it.
In the next page, Enter the website name in the Site Title Tab, Set the desired name and Password to the site, Also enter your email address and your convenient Search Engine Visibility option status and Click on “Install WordPress” button.
WordPress now redirects you to the WordPress login page where you have to enter the username and password that you set up on the last page. After entering the valid credentials click on the Login button.
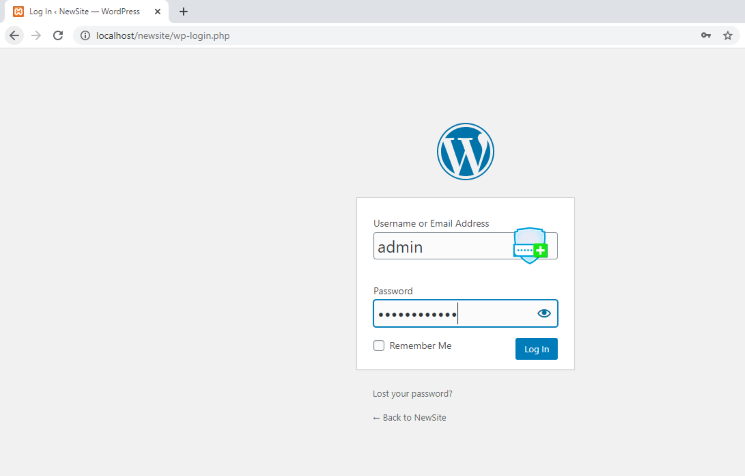
After successful login, you will be redirected to the WordPress Dashboard page which is the control station for the themes, plugins, contents, and all the functional components in your WordPress site.
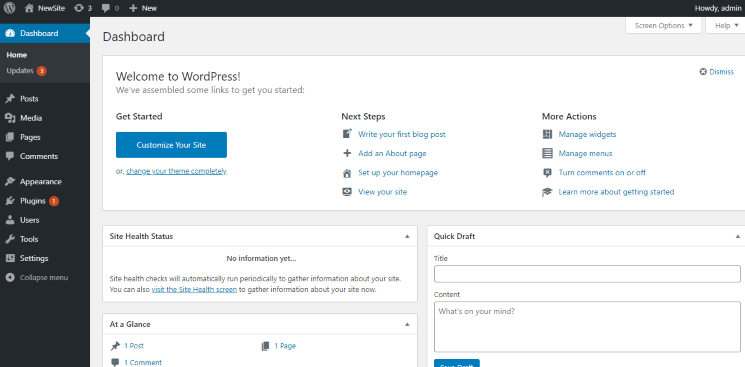
Tada, you have successfully installed WordPress in the XAMPP Local Host. WordPress is fun to learn. Tryout new free themes and customize it to your creativity. You have just installed the most awesome website framework in the world.